|
|
感谢关注耳机俱乐部网站,注册后有更多权限。
您需要 登录 才可以下载或查看,没有账号?注册

x

Thank you for purchasing the Eddie Current Balancing Act headphone amplifier. Before using the amplifier for the first time, check for shipping damage by “gently” rocking the amplifier back and forth, listening for anything that may have come loose in shipping.
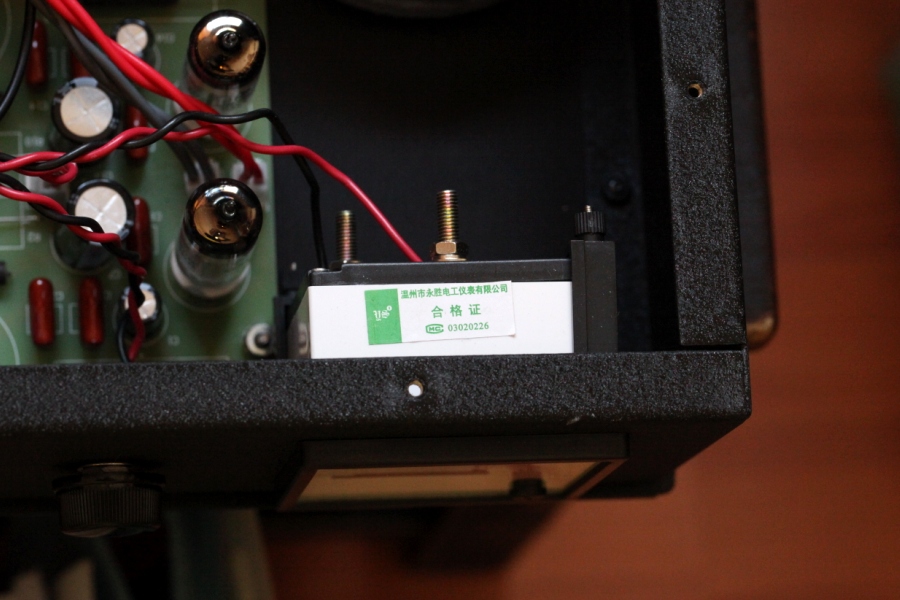
Remove the power supply top plate, and check that none of the connectors came unplugged in shipping. Check to make sure the 6X4 rectifier tubes are seated firmly as well as the small piggy back surface mount board. To check the board gently press down on the outside edges. Put the top cover back on. Make sure the power meter adjust knob is full counter clockwise.
Be very careful when plugging in the umbilical cord. There are 20 pins that need to line up at both ends of the cord. There is a notch at the top of the plug that lines up with a key on the chassis mount side. Wiggle the plug as the locking ring is turned. The plug should go on smoothly. If the locking ring won’t turn, one or more of the pins are not lined up. The connector cord can go on in either direction and may work better flipping the cord around. If there is a problem, check the chassis mount side to make sure all the pins are straight. Forcing the plug will cause one or more pins to be pushed out, and the amplifier will not operate.
Plug in the two 4-pin tubes, making sure both large pins are in a row front to back, and facing the center of the amplifier. Plug in the 6SN7--it is keyed be sure it is lined up before inserting.
If you are using PX-4 tubes make sure that the toggle switch on the rear panel is in the up position. If you are using 300B tubes the switch should be in the down (B) position. Turn on the power. After a few seconds the red light will come on, and the meter will read slightly less than 4V. For PX-4 tubes set for 4V, for 300B tubes set for 5V.
Place the power supply at least 1 foot away from the main chassis to avoid the unit from picking up a hum field.
The power switch for the BA is located on the right hand side in the rear of the unit. It will power on and off both the unit and power supply.
You are now ready to enjoy the ultimate sound experience!
The rear panel input jacks are setup right reading from the amplifier front. So looking at the rear the jacks on the Left side are labeled Right, and the Right reading rear jacks are labeled Left. There is one XLR balanced input, and three RCA unbalanced inputs. They correspond to the input selector switch nomenclature B for balanced, 1, 2, and 3 for the unbalanced inputs. There is one set of XLR balanced outputs on the rear panel. These are the line outputs which are controlled by the font Line/Cans switch. With the front panel switch on Line the balanced signal is routed to the line outputs, and the headphone jacks are turned off. If you wish to use the balanced outputs unbalanced plug a XLR female to RCA female adapter into the XLR outputs.
The rear panel switch sets the bias for the 300B, or PX4 tubes.
The two center RCA jacks are loop through. They are passive output signal jacks that pass the signal from the input selected by the front panel input select switch. They are not affected by the amplifier volume control, and will operate with the amplifier turned off. DO NOT use these for line output jacks, and never plug them into a power amplifier unless the amplifier has a volume control.
The front panel headphone jacks will accommodate dual 3 pin XLR, single balanced 4 pin XLR, or unbalanced ¼”. Only use one headphone at a time. The front panel Line/Cans switch must be in the Cans position to play headphones. When a ¼” plug is inserted the front panel XLR connectors will be unbalanced.
Should you have problems with any of the steps above or it appears that your unit is not functioning properly, please email Eddie Current for immediate support to diagnose the problem.
[ 本帖最后由 Enlighten 于 2011-4-27 01:22 编辑 ] |
|
 |联系我们|有害信息举报:010-60152166 邮箱:zx@jd-bbs.com|手机版|Archiver|黑名单|中国耳机爱好者俱乐部
( 京ICP备09075138号 )